Note
Questions welcome!
This hackathon is intended to help teach scientists how to use the yggdrasil package to connect scientific models. Part of that is answering your questions. Whether you are participating in the hackathon event at the CiS symposium in June or going through these materials on your own, please let us know if you have any questions or difficulties by opening an issue on the hackathon materials Github repository page. Chances are good that if you have a question/problem, someone else is having the same question/problem. By reporting them as public issues, you are making it easier for us to help you and helping others to find answers in the future as there will be a searchable record of the problem and (hopefully) a solution.
Once you are satisfied that your question/bug has been answered/solved, please close the issue or let us know that we may do so. If you are reporting a bug, please also refer to the Debugging section for tips.
Setup
This hackathon is based around materials in Jupyter notebooks located in this repository. There are several methods to run them, MyBinder, local install, or Docker container, each of which is described below. We recommend using the MyBinder method as it does not require any local installation, but if you have difficulty opening the MyBinder instance, one of the other methods may be preferable.
Reguardless of the installation method, you will need a browser to access the notebooks. MyBinder fully supports Mozilla Firefox, Google Chrome, and Safari. It may work with Microsoft Edge (or Internet Explorer), but these are not guaranteed. If you have trouble accessing the notebooks, we recommend downloading one of those MyBinder fully supports for this workshop.
MyBinder
MyBinder is a free public service that allows users to run Jupyter notebooks on remote compute resources via BinderHub. This method is the most straight forward as it does not require you to install anything on your machine other than a browser.
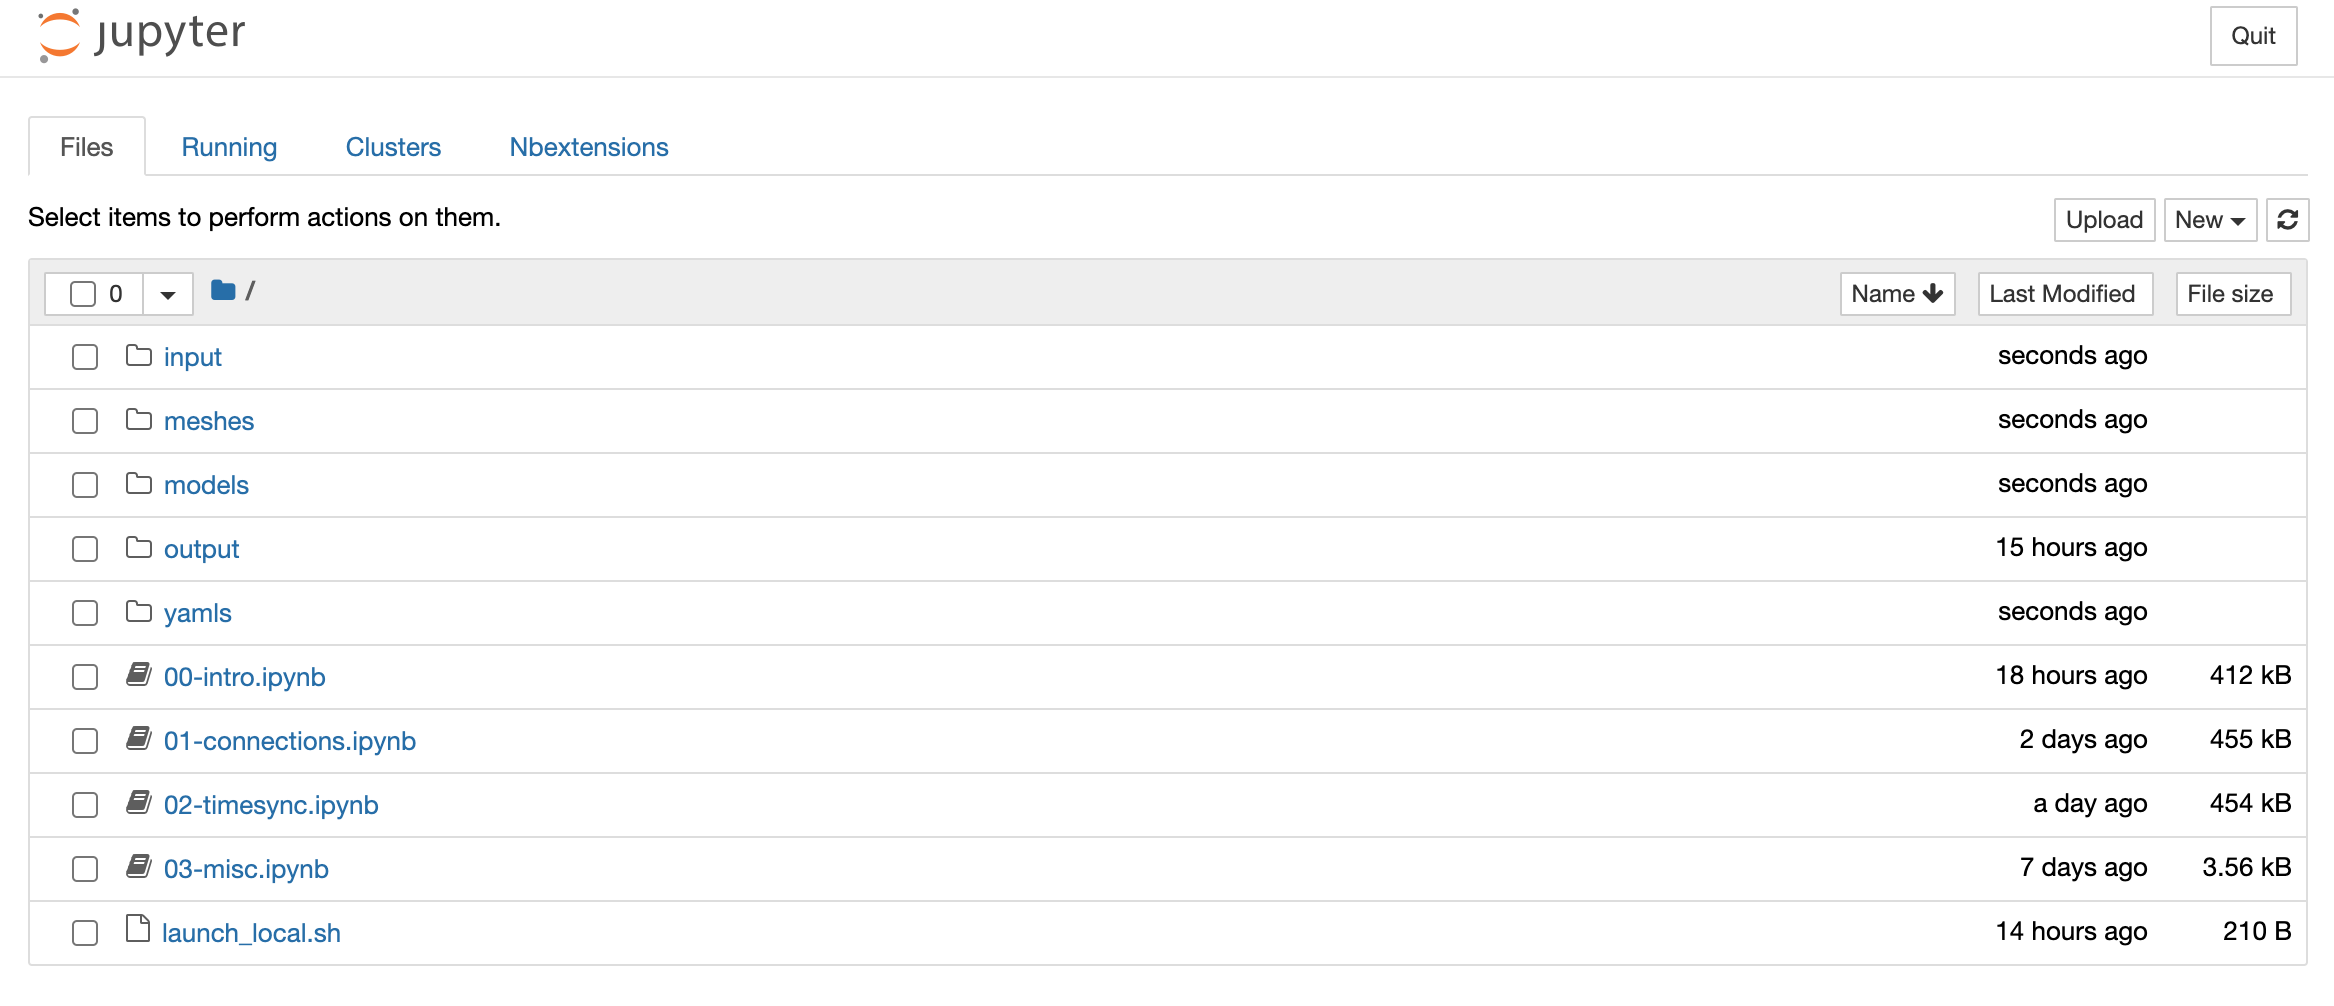
Open this link or click the
launch binderbutton in the README for the hackathon materials repository.Wait for the binder instance to launch. This can take update a few minutes if the repository has been updated recently. When the instance is running, you should see a file browser like below.
Note
Changes you make to the notebook are only present on the specific instance that you are interacting with and will disappear when the instance shutdowns. If you want to keep any changes you make, you will need to download the notebook. You can then upload it to future instances.
Local Install
This setup method is the most involved, but once it is complete, you will have a local conda environment with yggdrasil installed that can be used in the future.
Note
One Windows, commands below should be executed from a conda command prompt which should be available in your start menu after installing miniconda.
Install Miniconda for your operating system from here. Select an installer for Python >=3 (i.e. not 2.7; the installation will still work if you install the 2.7 version, but it will probably be slower).
[OPTIONAL] Install ``git`` if you do not already have it. You can either:
Use conda (e.g.
conda install git)Use a package manager (e.g. apt, homebrew, choco)
Download an installer for your operating system from here
Clone or Download the hackathon materials repository:
git clone https://github.com/cropsinsilico/CiS2021-hackathon.git
cd CiS2021-hackathon
If you did not install
gityou can download the repo from the repository webpage (click the green “Code” button and select “Download ZIP”)Create the conda environment from the
environment.ymlfile in the hackathon materials repo. This file includes information about what conda channels should be used and what packages should be installed for the notebooks to work.:conda env create -f environment.yml conda activate CiS2021-hackathon-environment
Finish installing yggdrasil by running the
postBuildscript associated with your OS. On Linux/Mac:source postBuild
on Windows:
call postBuild.bat
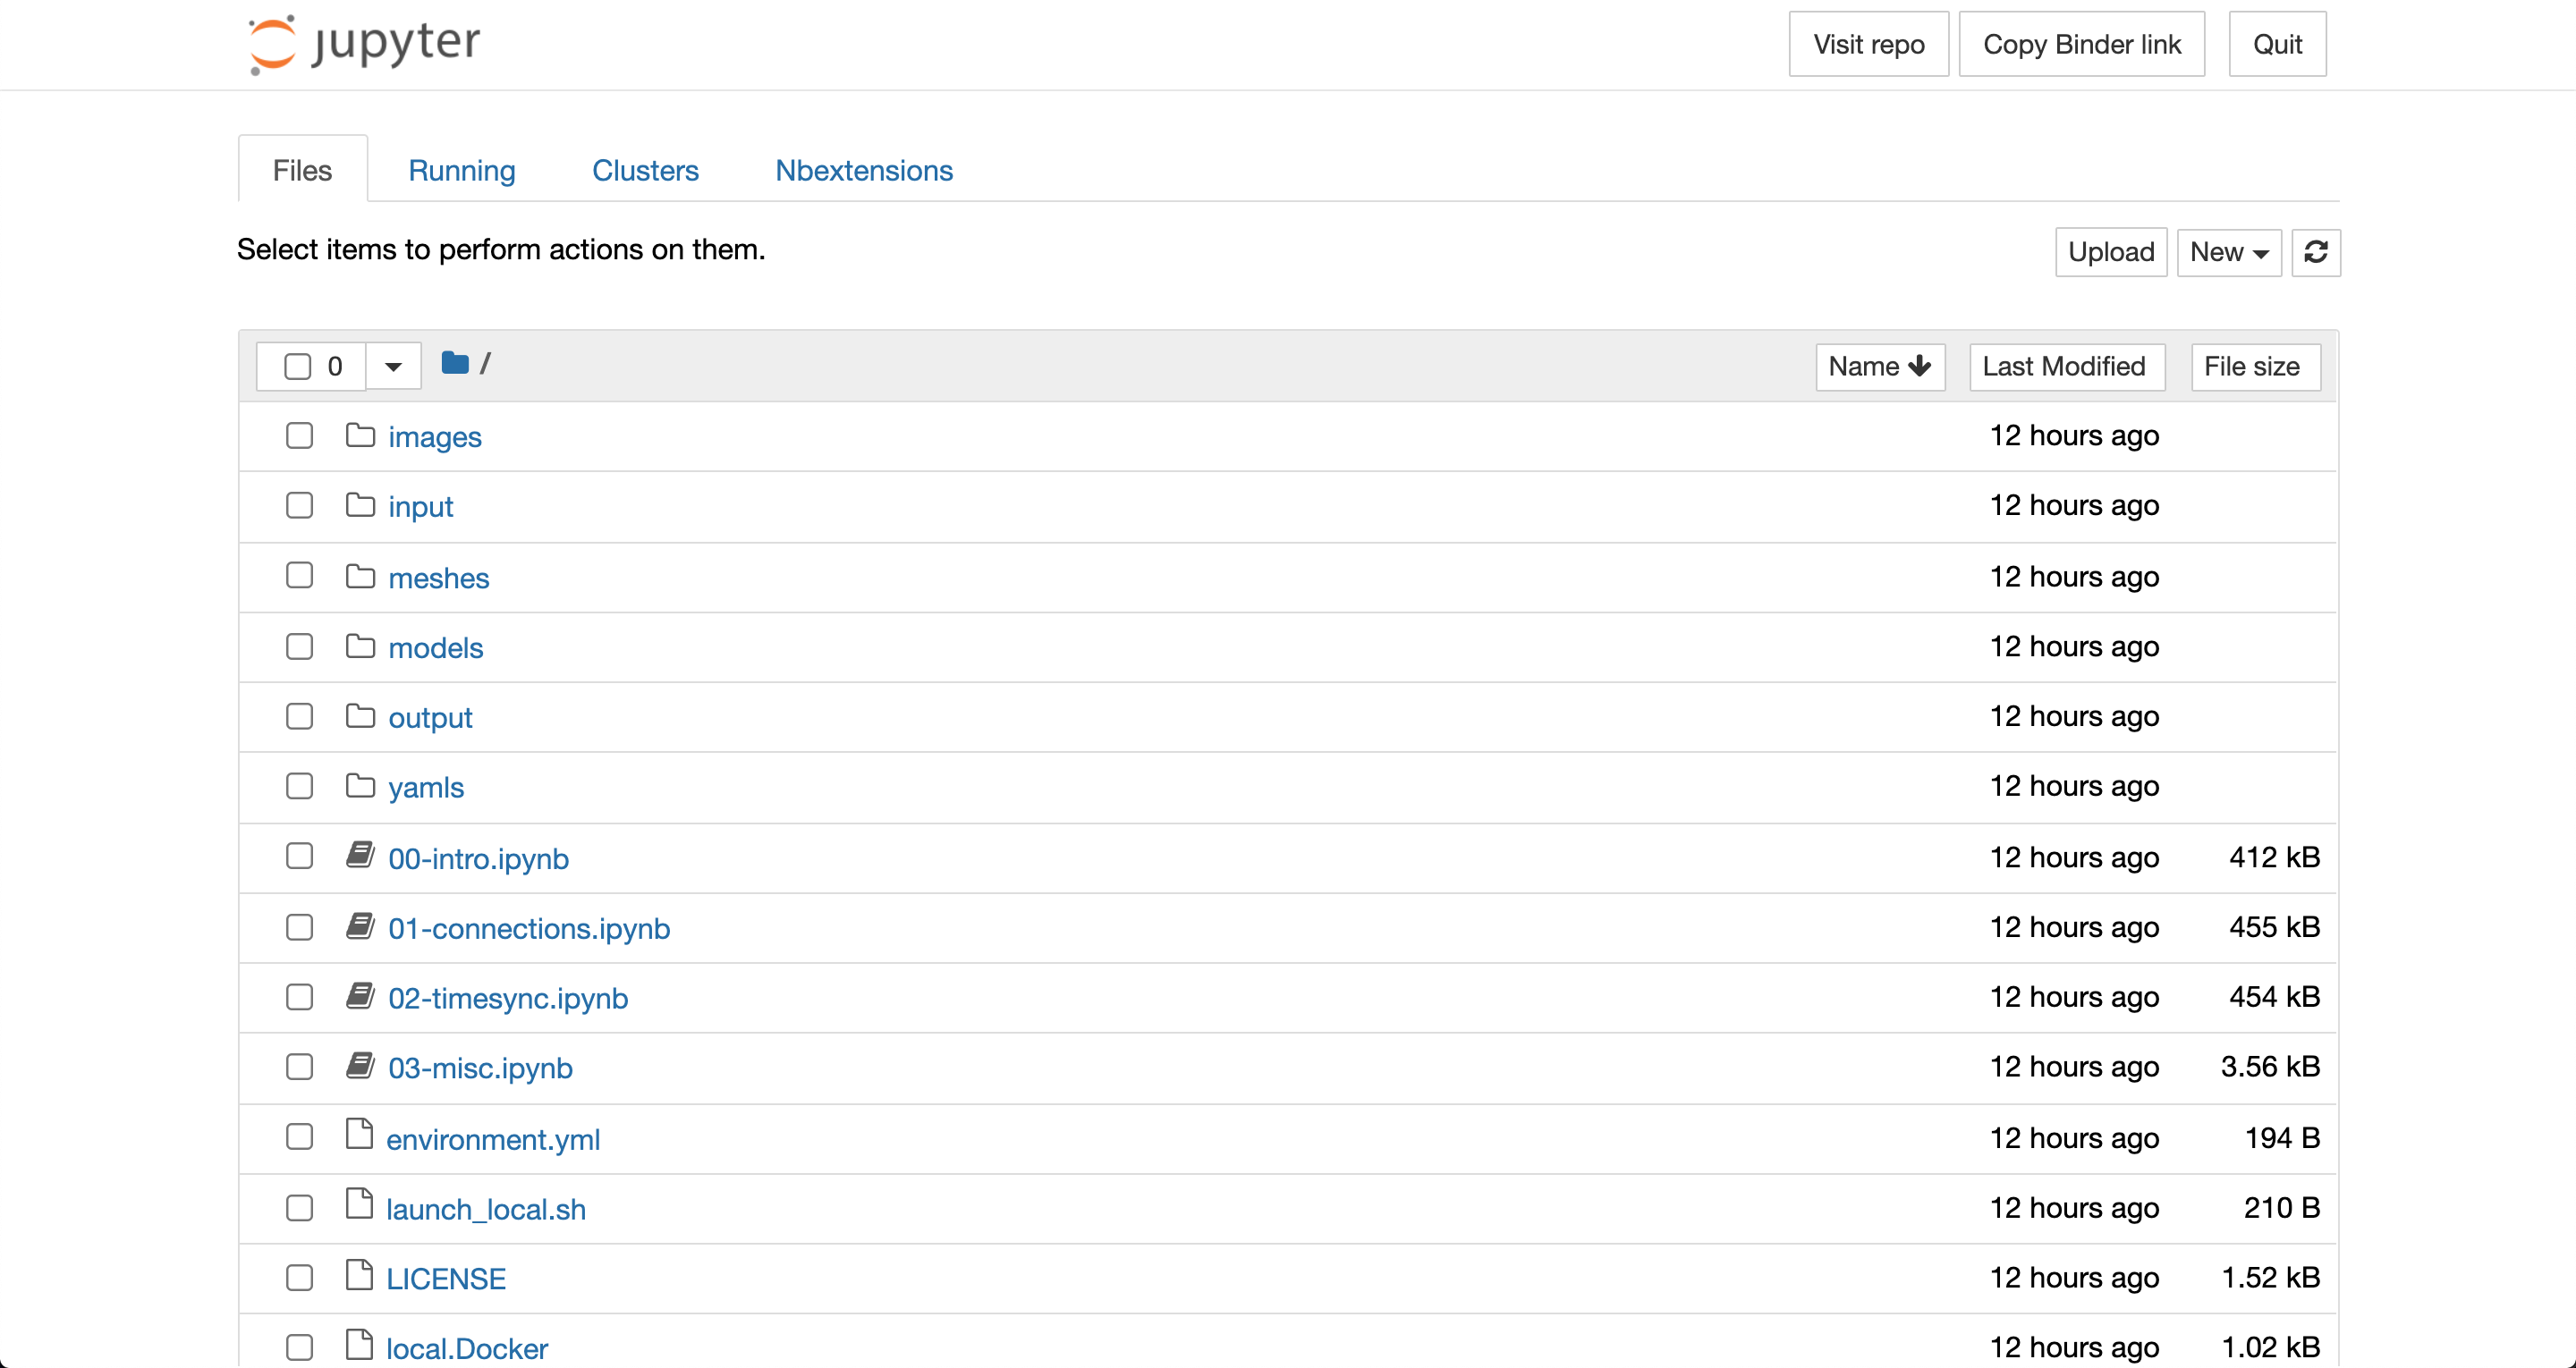
Launch the notebook server:
jupyter notebook
This should open this address http://localhost:8888/tree on your local machine and display the file browser shown below
Docker Container
Docker containers allow developer to package the entire stack (operating system, dependencies, scripts, data) required to run projects in a contained environment. In this case, we are using the container to run the Jupyter notebooks so you don’t have to install the dependencies on your machine which can encounter issues on untested releases and/or combinations of operating systems and/or dependencies.
Download and install docker from here.
Sign-up for DockerHub here, start docker, and sign-in using your docker hub credentials (either via the desktop app or the command line).
Pull the hackathon image from docker hub:
docker pull langmm/hackathon2021:0.0.8
Create a work directory that the hackathon container will be used to store updates to the notebooks and compilation products. This can be any directory that you have write access to.
Start a container from the hackathon image by running the command below, replacing
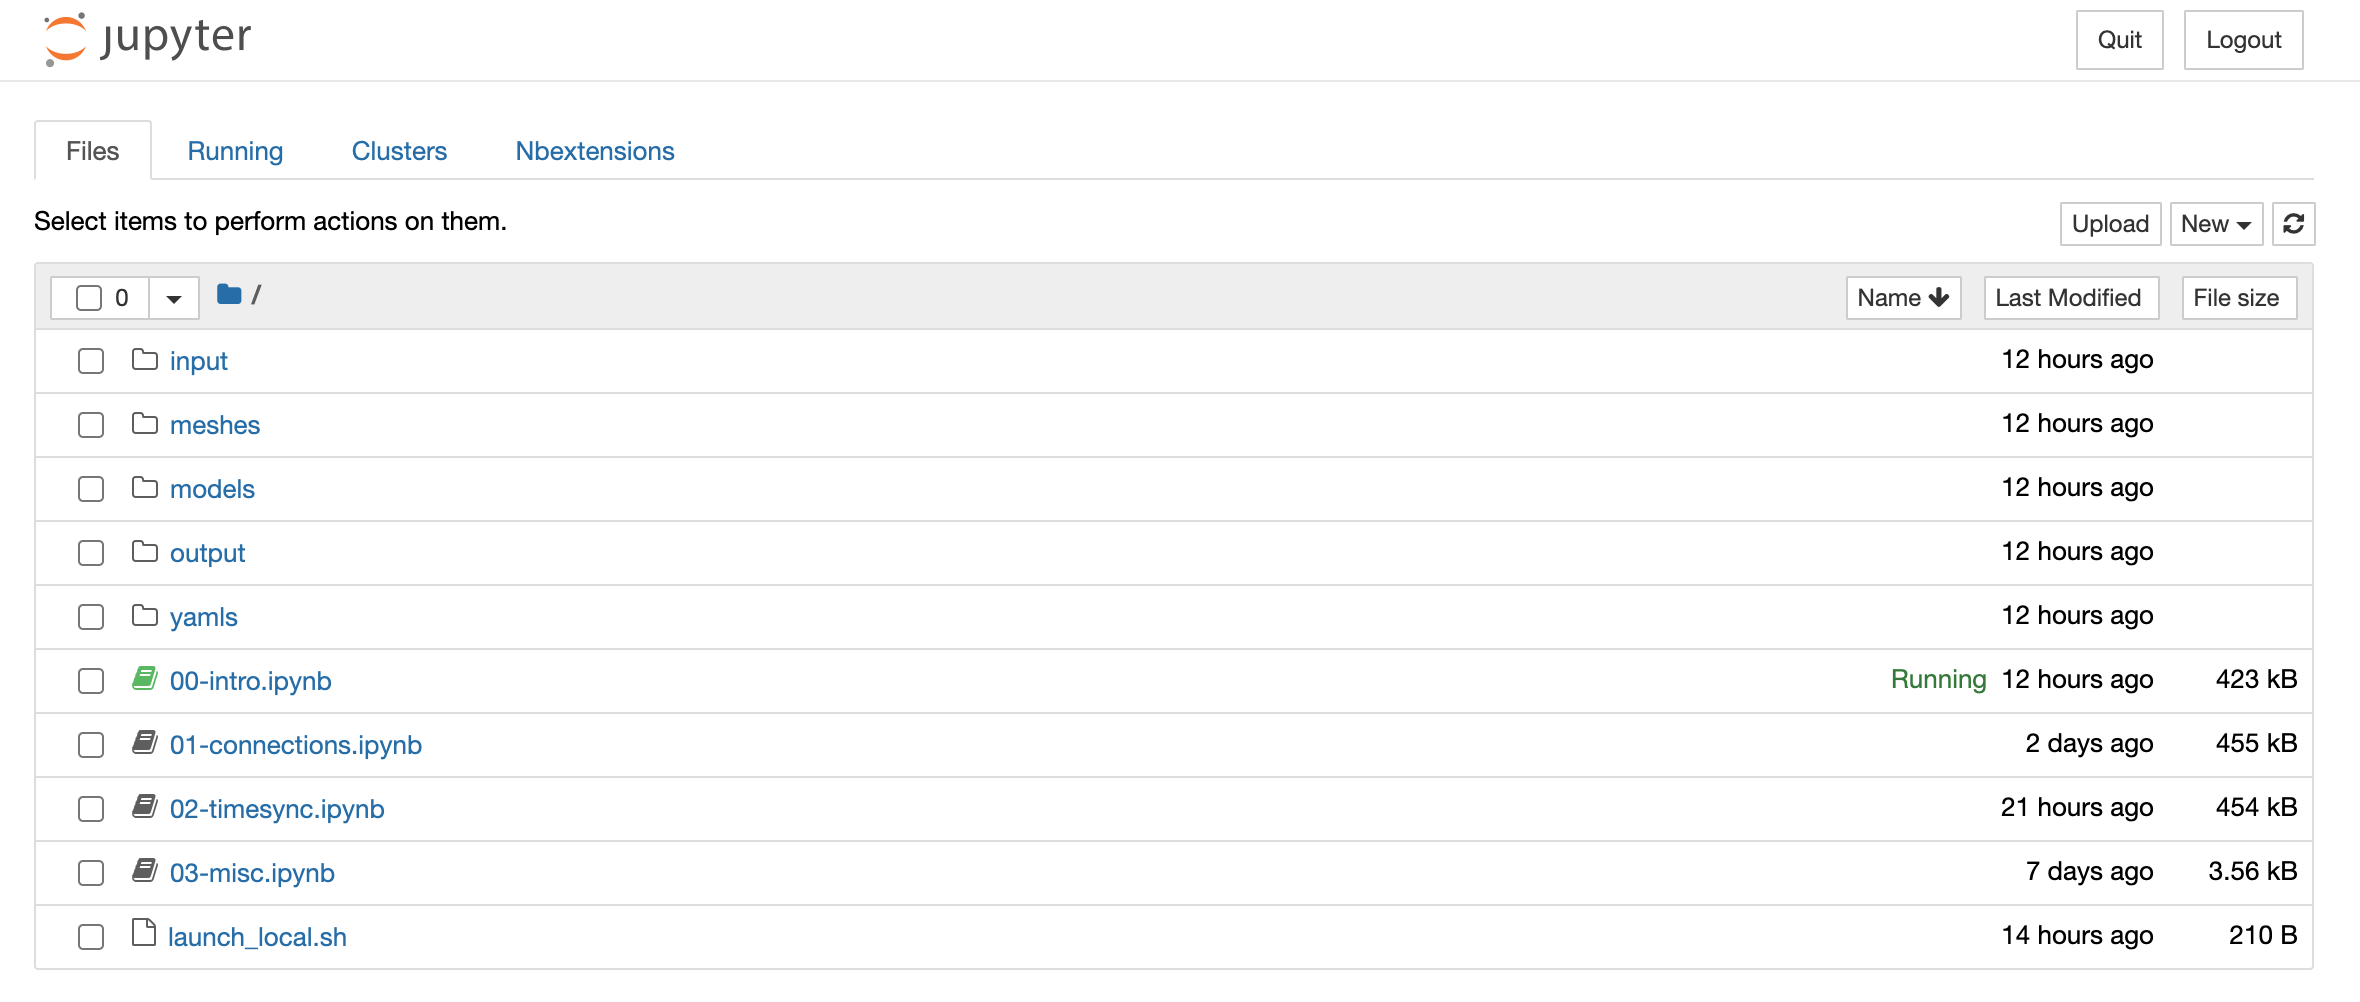
<some directory name>with the full path to the directory you wish the image to use:docker run -it --rm -p 8888:8888 -e NB_UID=$(id -u) --user root -v <some directory name>:/tmp langmm/hackathon2021:0.0.8
Open the browser by going to http://localhost:8888/tree in your browser. You should see a file browser like the one below