Installation
First Steps with Windows
If you are running Windows, you will first need to install Microsoft Visual Studio. If you do not already have a copy, the free community edition will work and can be downloaded here. Visual Studio (VS) can be installed in parallel with conda, just be sure to finish installing VS before moving on to installing cis_interface.
Setting up your Conda environment
For the purpose of the hackathon, we recommend using a conda environment with Python 3.6 installed. Conda allows you to have multile development environments with different versions of Python and/or software packages on the same machine. While this is not strictly necessary, it is recommended as it will help to ensure that you are using the same version of cis_interface and its dependencies as everyone else.
If you do not already have conda on your machine, download and install Anaconda from here.
Once Anaconda (or Miniconda) is installed you can create a new Python 3.6 environment for the hackathon by entering the following at your terminal prompt (or Anaconda prompt for Windows):
$ conda create -n cis python=3.6
On Linux/MacOS, the created environment can be activated by calling:
$ source activate cis
On Windows, this can be done by calling the following from the Anaconda prompt:
$ activate cis
Verify that the correct version of Python is now being used.:
$ python --version
Installing cis_interface
Directions for installing the cis_interface package and its dependencies can be found here. We recommend installing via conda and/or pip for the purpose of the hackathon.
Get Hackathon Materials
To get started, we will walk through transforming an example model and
connecting it to other models. To make sure we are all on the same page,
create a cis_home directory somewhere that you will remember and can
access from the command line and then move into that directory:
$ mkdir cis_home
$ cd cis_home
The tutorial will use this directory as a reference for naming files and running the examples.
The materials for the hackathon tutorials are in a git repository on GitHub called hackathon2018.
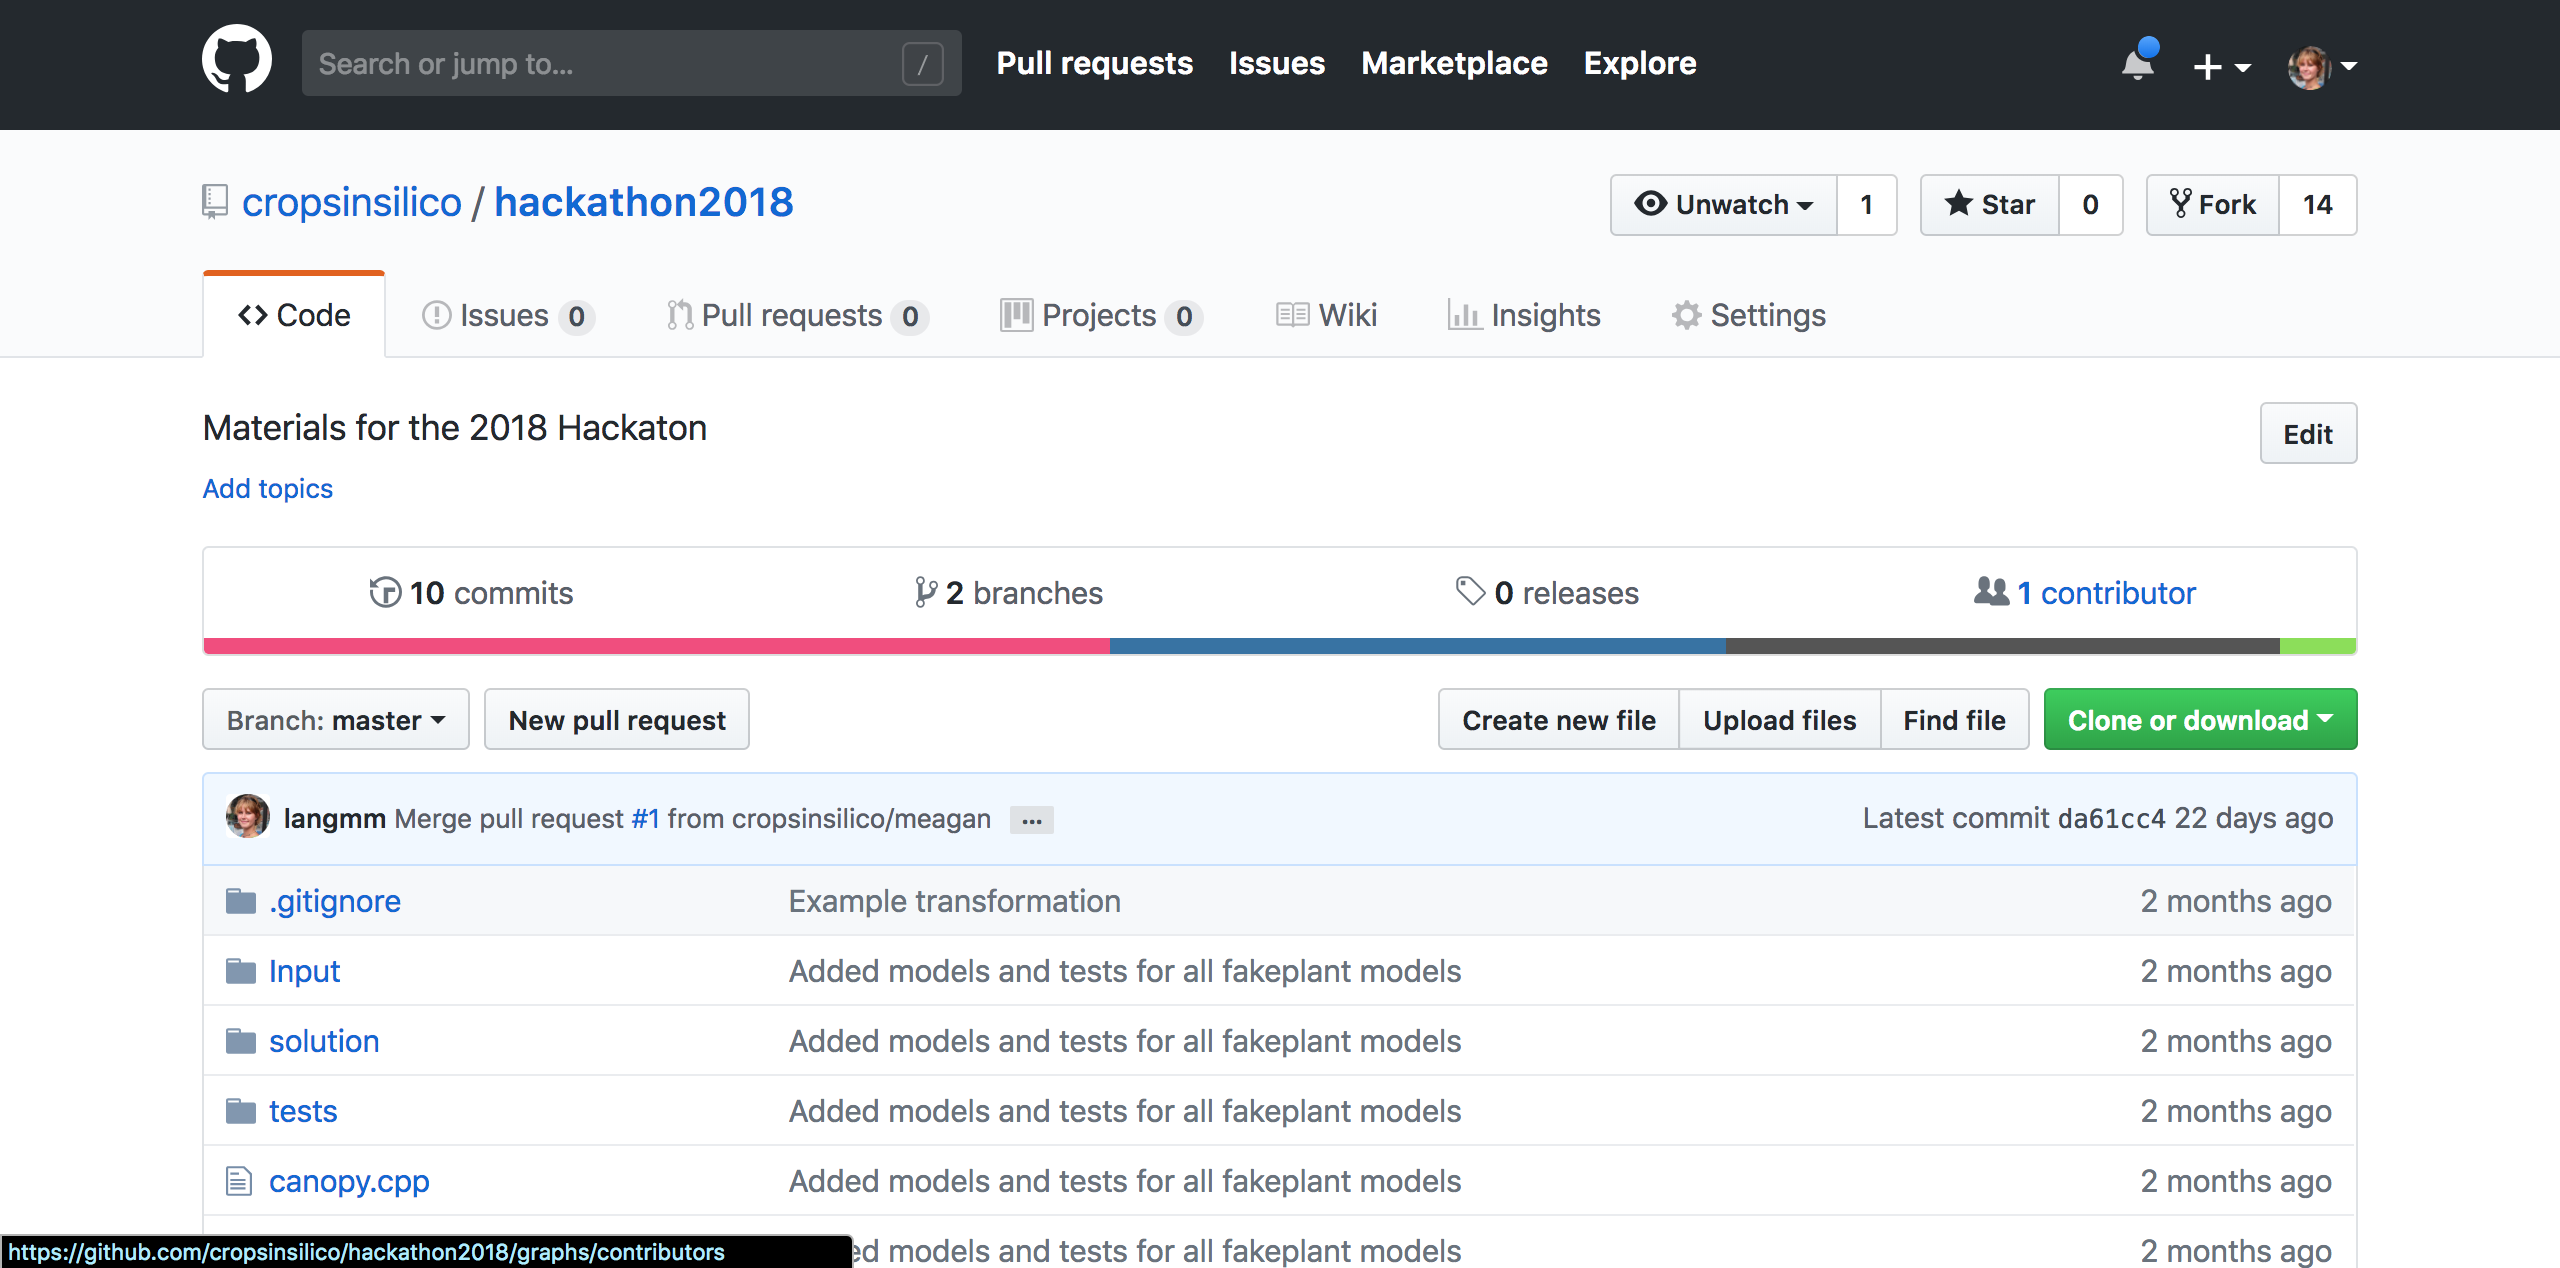
Using Git
If you have a GitHub account, are familiar with git, and would like to save changes you make to the hackathon materials for future reference, you can fork the hackathon2018 repository (Fork button in the upper right)
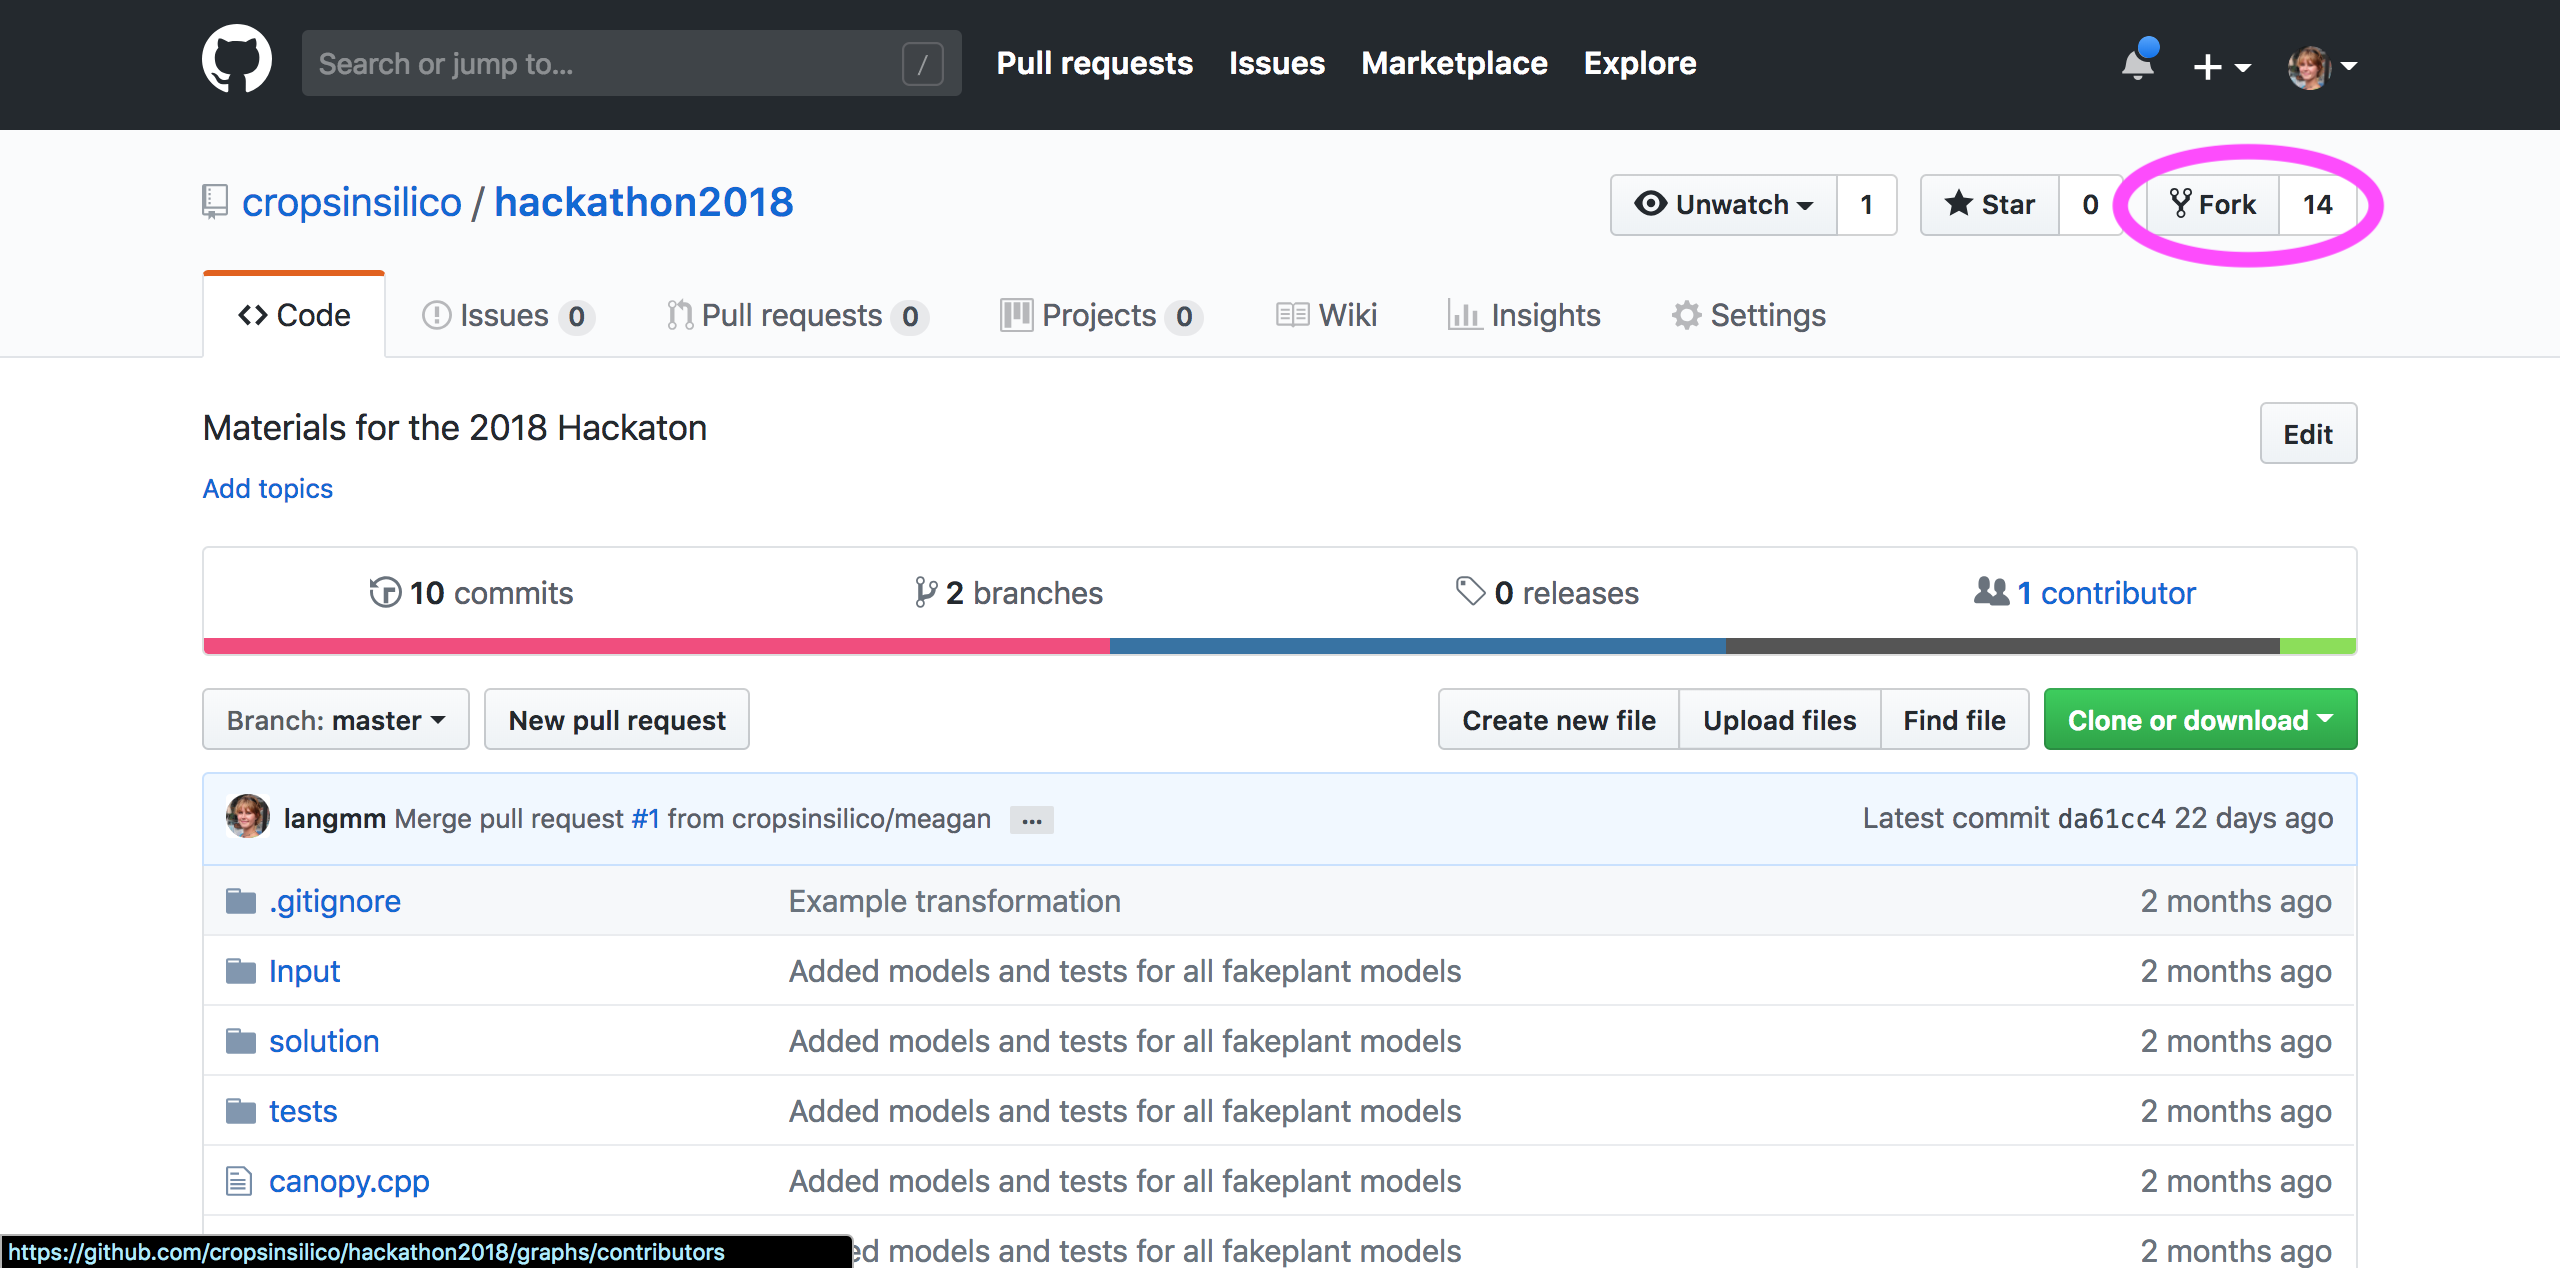
and clone your fork on your machine into the cis_home directory.:
$ git clone https://github.com/[your username]/hackathon2018.git
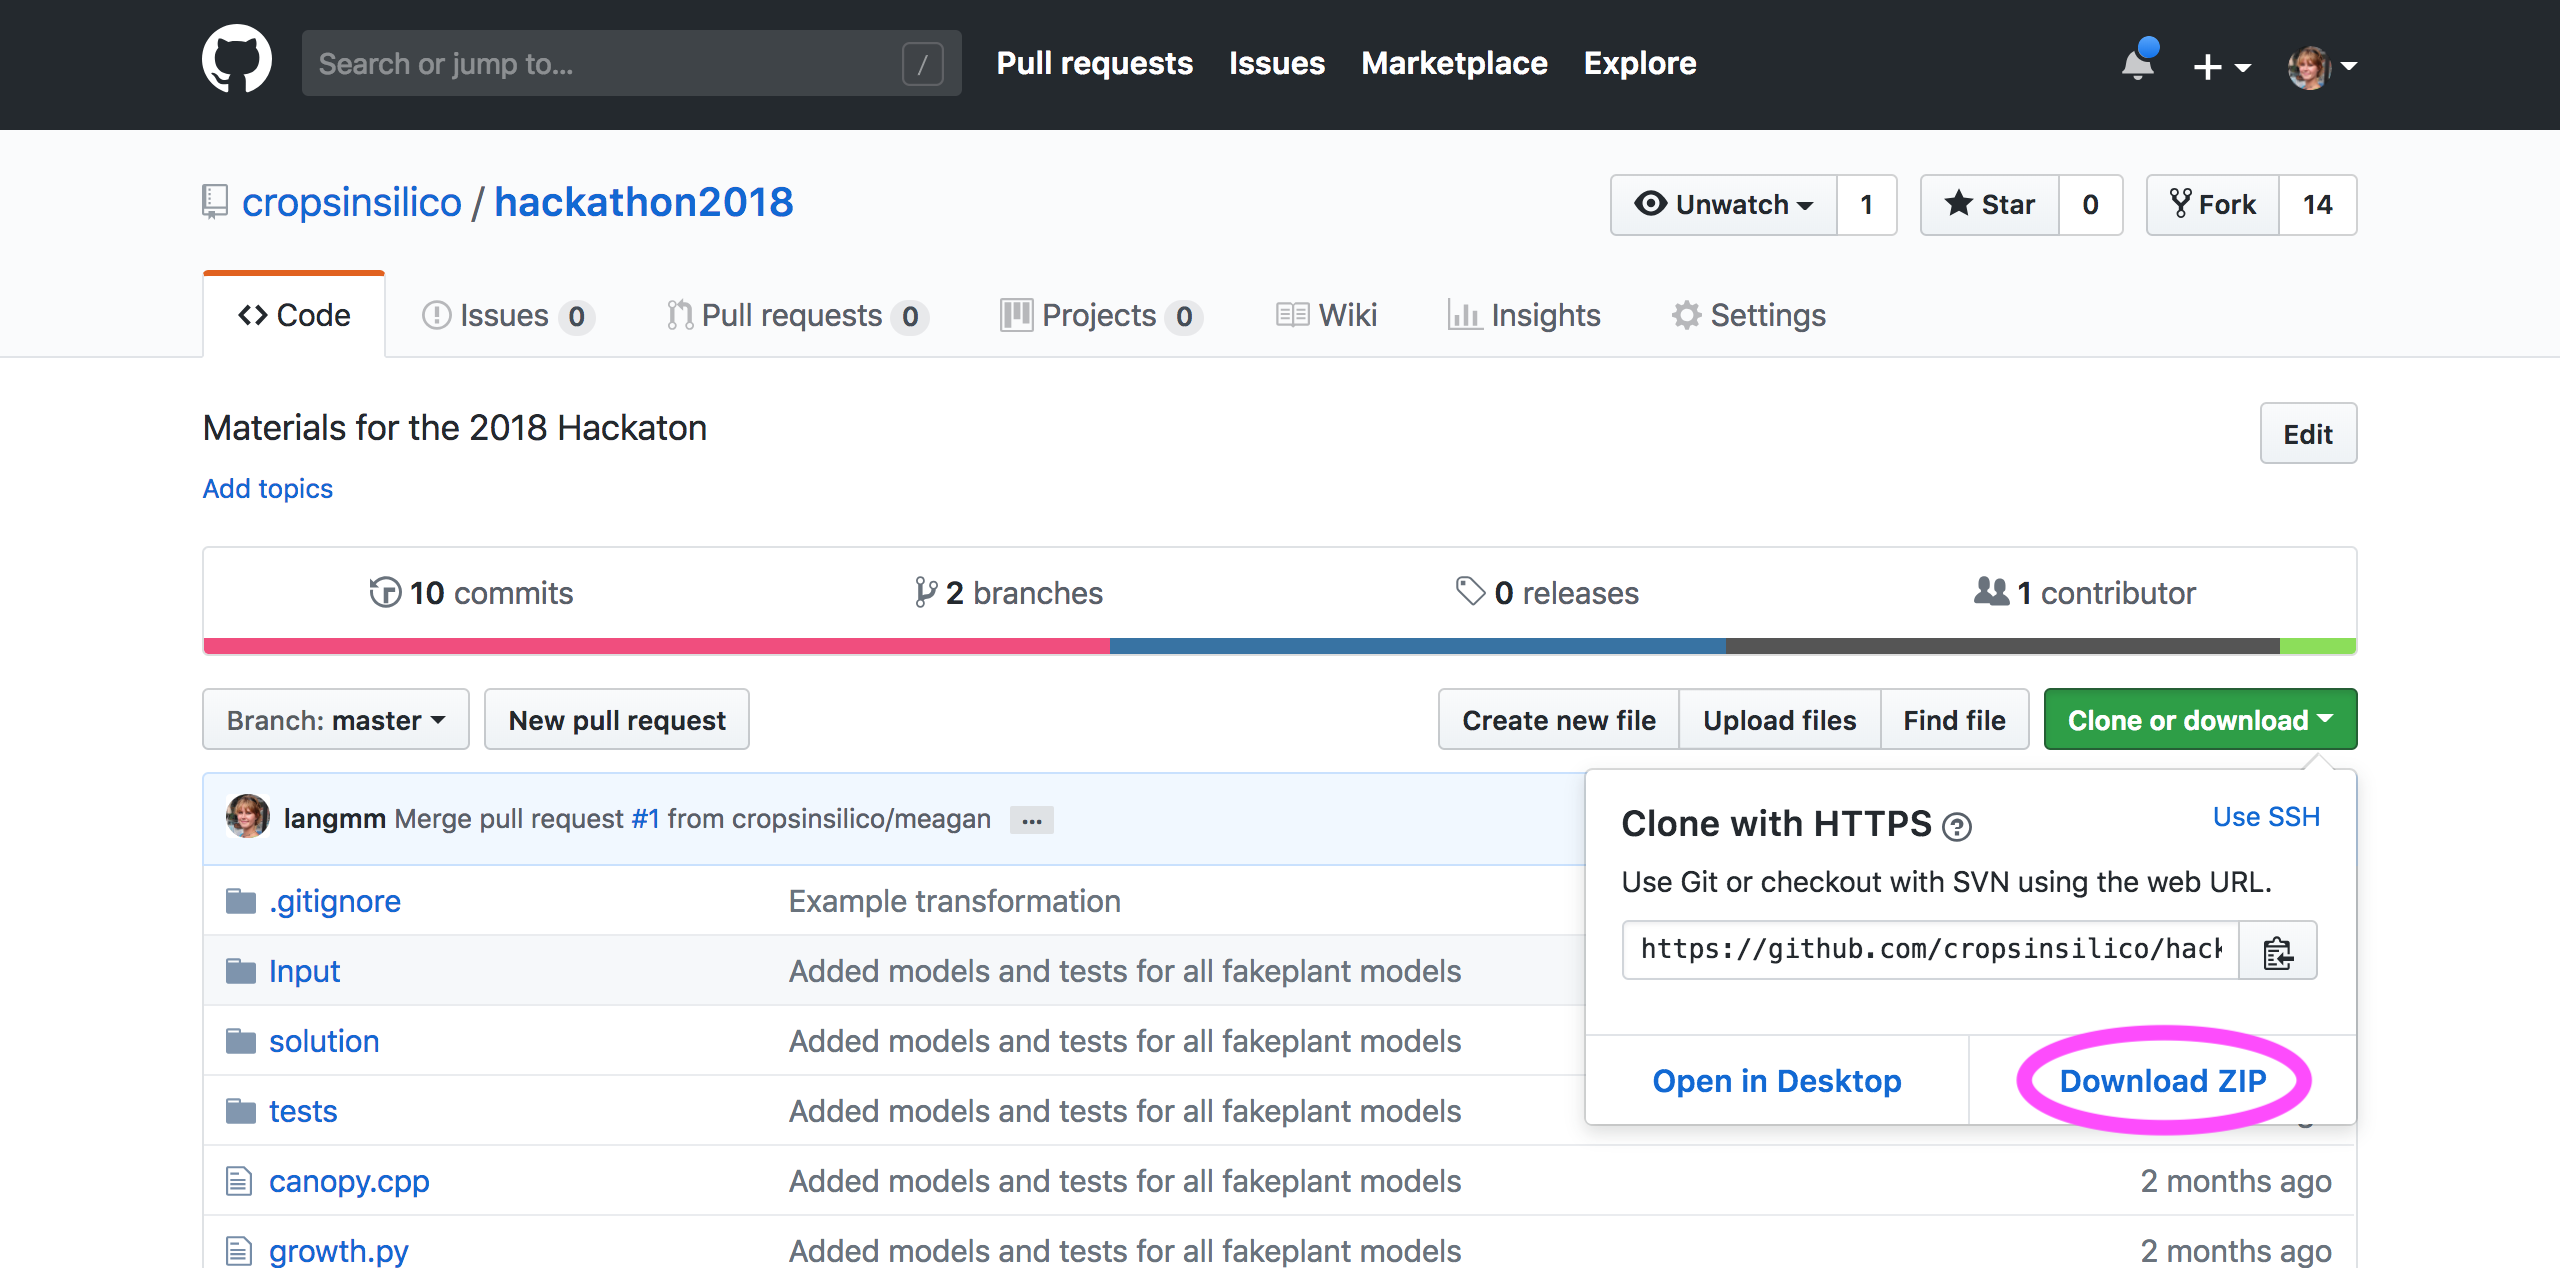
Via Download
If you don’t have a GitHub account or don’t know git, you can download the repository as a .zip or .tar.gz archive from the GitHub page by clicking Download ZIP in the box that drops down when you click the green Clone or Download button.
You can also download a tagged version of the materials from here.
Once downloaded, extract the repository into the cis_home directory.
Running Tests
From the hackathon2018 directory, run the tests to ensure that everything
is working:
$ cd hackathon2018
$ ./run_tests.sh
The tests script will display output from some of the models we will be using. If you have any errors, please let us know so we can track down any issues you might be having. Warnings are OK.